Posts
Zero Trust on a $0 Budget, Part 1: Setting Up Cloudflare One's Free Plan
Until this week, I had no remote access setup at all. No VPN, no port forwards, no filtering. My Mac was protected by whatever network it happened to be on: home Wi-Fi, a coffee shop, an airport.
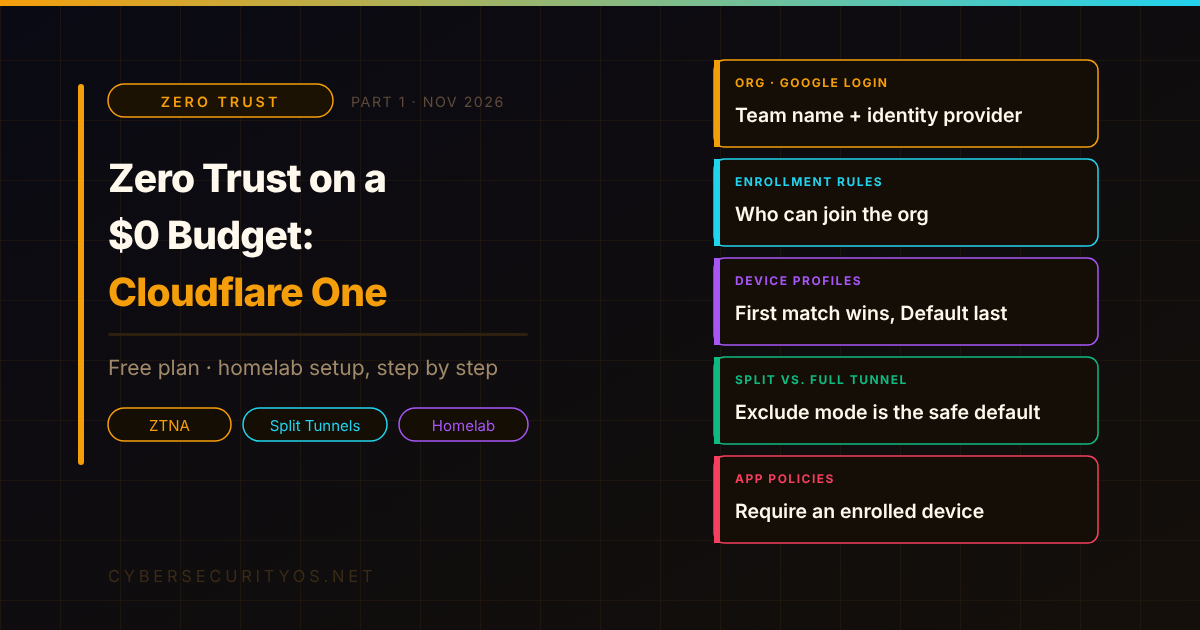
So I set up Cloudflare One, Cloudflare’s Zero Trust platform, on its free plan. One evening, $0. I expected it to be “install a VPN app and click connect.” It wasn’t. The first evening was mostly about understanding the control plane: who can enroll, how the device is configured, what traffic goes where, and what an app should require before it lets you in.
This is Part 1 of a series. It covers that foundation. Later parts go into network segmentation, routing traffic with app policies, and authentication and endpoint policies.
What you get for $0
The Zero Trust Free plan covers up to 50 users. It’s not a demo tier; it’s the same building blocks the paid plans use:
| Component | What it does |
|---|---|
| Cloudflare One Client (formerly WARP) | Runs on the device and sends its traffic through Cloudflare |
| Gateway | DNS, network, and HTTP filtering for traffic leaving your devices |
| Access | Checks identity and device on every request before reaching an app |
Cloudflare Tunnel (cloudflared) | Outbound-only connector that publishes apps without opening ports |
The way I think about it: Gateway protects you when you go out to the internet. Tunnel and Access protect what you host when the internet comes in. A traditional VPN does a rough version of the second job and none of the first.
In Part 1 I’m covering the client, device configuration, and Access policies. Gateway filtering and Tunnel come next.
Step 1: Create the Zero Trust organization
Sign in to the Cloudflare dashboard, open Zero Trust, and pick a team name. It becomes <team-name>.cloudflareaccess.com and it’s what every device uses to enroll, so pick something short you won’t want to change. Then choose the Free plan. Cloudflare asks for a payment method even on the free tier; you aren’t charged.
Next, set up a login method under Integrations > Identity providers. The built-in one-time PIN (a code sent by email) is the fastest way to start, but I connected Google. It means enrollment and app logins go through an account that already has MFA turned on, and it unlocks identity-based selectors in device profiles later.
Step 2: Device enrollment rules (who gets in)
This was the first thing that clicked for me. Before a device can join your organization, it has to match an enrollment rule. Installing the client isn’t enough.
Go to Team & Resources > Devices, open the Management tab, and under Device enrollment permissions add a policy. For a single-person lab, one rule is plenty:
| Action | Rule type | Selector | Value |
|---|---|---|---|
| Allow | Include | Emails | [email protected] |
That’s the whole point of Zero Trust in one table. The network doesn’t decide who’s trusted. An identity rule does.
Then on the Mac:
- Download and install the Cloudflare One Client.
- Launch it and choose Zero Trust security.
- Enter your team name.
- Log in in the browser, then go back to the client.
Or from the terminal:
warp-cli registration new <your-team-name>
# after the browser login completes:
warp-cli registration show
Two macOS notes: if registration hangs at “Checking your organization configuration,” that’s a known issue in the current release and a reboot fixes it. And the new macOS client UI doesn’t show split tunnel settings yet. You manage those from the dashboard, which is where you should manage them anyway.
Step 3: Device profiles (how the device behaves)
Enrollment decides who can join. Device profiles decide how an enrolled device behaves: its client mode, split tunnel settings, local domain fallback, and whether the user can switch the client off.
You’ll find them under Team & Resources > Devices > Device profiles. What I didn’t understand at first is how they’re matched:
- Profiles are checked top to bottom, and the first match wins. Nothing below can override it.
- The Default profile is always last. It only applies when nothing above matches.
- You can match on user email, IdP group, operating system, and more. Identity selectors only work if the device was enrolled by logging in to an identity provider.
- Changes can take up to 10 minutes to reach devices, and changing the mode, split tunnels, or local domain fallback restarts the client connection.
For one Mac, the Default profile is fine. But this is the lever you’ll use as soon as you have more than one kind of device. For example, a stricter profile for a travel laptop, or a different split tunnel list for a lab machine. Practice with it now while the stakes are low.
Step 4: Split tunnel vs. full tunnel
This is where I spent the most time, because the terminology doesn’t map neatly onto how most people think about VPNs.
Split tunnel settings live inside each device profile and have two modes:
| Exclude mode (default) | Include mode | |
|---|---|---|
| What goes to Cloudflare | Everything, except the IPs and domains you list | Only the IPs and domains you list |
| Behaves like | A full tunnel with carve-outs | A classic split tunnel |
| Gateway coverage | Network and HTTP policies see almost all traffic | Everything not listed bypasses network and HTTP filtering |
| Default list | Private ranges (RFC 1918) and other local ranges are excluded | You build the list, including the Zero Trust domains it needs |
My takeaways:
- Exclude mode is the secure default. Stay on it. You get coverage everywhere and only carve out what has to stay local.
- Your LAN is excluded by default. That’s why the printer and NAS still work with the client on. It’s also why, once you start reaching home resources through Cloudflare, you’ll need to remove your subnet from the exclude list. That’s a Part 2 problem.
- Switching modes resets the list. Copy your entries before you flip it.
- DNS is separate from split tunnels. Split tunnels only control IP traffic. DNS queries still go to Gateway and are subject to DNS policies unless the domain is in Local Domain Fallback. That one took me a while to see.
- Prefer IPs over domains in the split tunnel list where you can. Domain-based entries depend on DNS resolution and have more edge cases.
Step 5: Planning app policies that require an enrolled device
I haven’t put an app behind Access yet. That comes with Cloudflare Tunnel in Part 2, since I need something published before there’s anything to protect. But I spent a good part of the evening working out how Access policies work, because getting the policy model right first makes everything after it easier. Every policy is built from four parts:
- Action: Allow, Block, Bypass, or Service Auth
- Rule type: Include (any of these can match), Require (all of these must match), Exclude (none of these can match)
- Selector: what you check, such as email, IdP group, country, or device posture
- Value: what you match against
Access applications are deny by default. Nothing gets in until an Allow policy matches.
The rule I’ll put on every app is requiring an enrolled device. Identity alone isn’t enough: a stolen password plus an MFA prompt someone approves by mistake still gets an attacker in. Requiring the device closes that gap. Here’s how I’ll set it up:
- Go to Reusable components > Posture checks > Cloudflare One Client checks, select Add a check, and choose Gateway.
- In the Access application’s policy, add a Require rule with the Gateway selector.
| Action | Rule type | Selector | Value |
|---|---|---|---|
| Allow | Include | Emails | [email protected] |
| Require | Gateway | Gateway |
With that in place, a request has to come from the right person and from a device that’s running the Cloudflare One Client and enrolled in your organization.
One trap: there’s also a WARP selector. It looks similar, but it accepts any WARP client, including the free consumer 1.1.1.1 app that anyone can install. Use Gateway.
Why it’s worth it, even for a homelab
Identity replaces the network as the trust boundary. Enrollment rules and Access policies decide who gets in, not which Wi-Fi you happen to be on.
Protection follows the laptop. With the client in Exclude mode, the coffee-shop network gets the same coverage as home.
Device-bound access. Once apps sit behind Access with a Gateway requirement, credentials alone won’t get anyone in.
It’s the real product. Enrollment rules, device profiles, split tunnels, and deny-by-default app policies are the same concepts enterprises pay for. If you’re learning Zero Trust for work, there’s no better lab than running it yourself.
Where the free plan stops
- 24-hour log retention for Access, DNS, network, and HTTP logs (paid Standard is 30 days). Admin logs are kept for 18 months.
- 50 users. Plenty for a homelab or a household.
- Community support only.
- You need a domain on Cloudflare to publish apps on a public hostname, which matters once you get to Tunnel.
What’s next in this series
I’m going to keep building this out and write it up as I go:
- Part 2: Segmenting the network. Using Cloudflare Tunnel to reach home resources, putting the first app behind the Access policy above, carving my subnet out of the split tunnel exclude list, and a catch-all block policy so enrolled devices can only reach what they’re explicitly allowed to.
- Part 3: App policies for routing traffic. Gateway DNS, network, and HTTP policies, and the TLS decryption decision that comes with them.
- Part 4: Authentication and endpoint policies. Identity providers, session lengths, and device posture checks beyond “is the client running.”
If you have a homelab or a laptop that goes everywhere with you, this is a good evening project. It costs nothing, and it teaches you Zero Trust by running the real thing.
Want Part 2 when it lands? Subscribe to CybersecurityOS with the signup form below. You’ll get the rest of this series plus weekly insights, tools, and frameworks for security pros.